
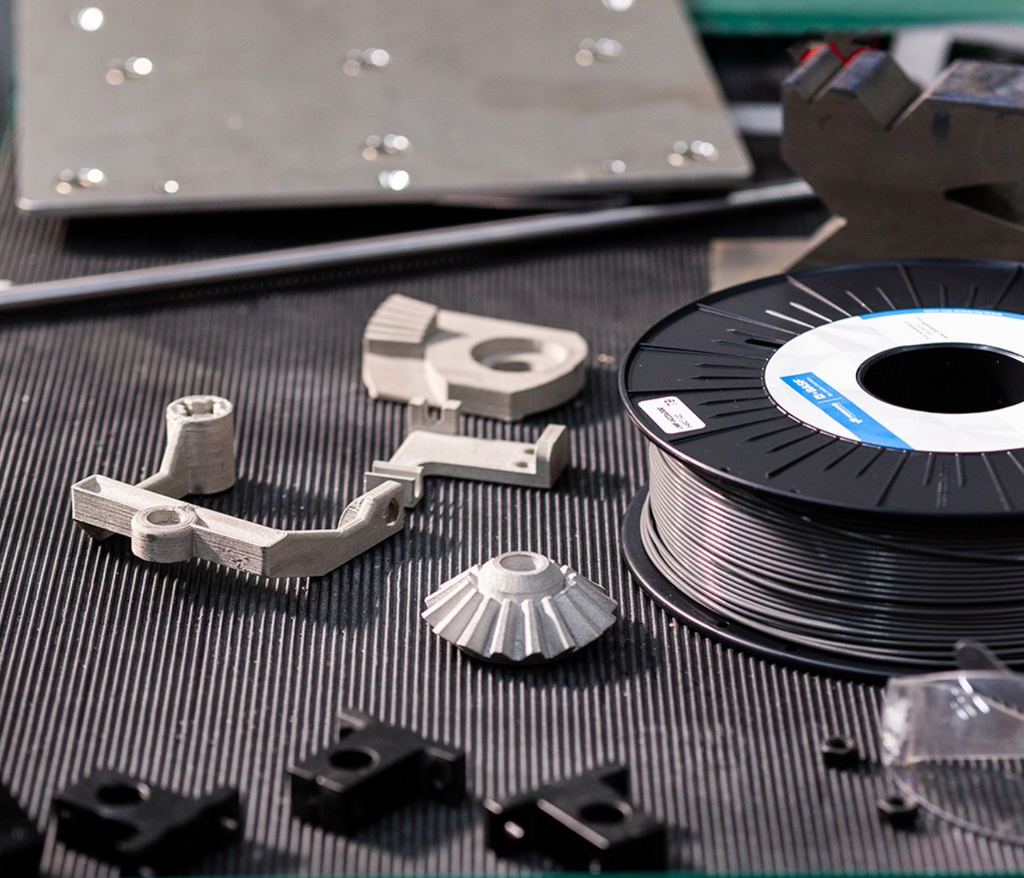
As 3D printing technology advances, enthusiasts and professionals alike are continually striving to optimize their print settings to achieve stronger, more durable, and functional parts. One critical parameter that significantly impacts the mechanical properties of 3D printed objects is layer height. But what layer height will give you the strongest prints? In this blog post, we'll explore how layer height influences the strength of 3D printed parts and provide guidelines to help you select the optimal layer height for your specific printing needs.
1. Understanding Layer Height in 3D Printing
Layer height is the thickness of a single printed layer in a 3D printed object, typically measured in micrometers (µm) or millimeters (mm). It's one of the essential settings in the slicing software, determining the resolution and print time of the final object.
Lower layer heights result in a higher resolution, smoother surface finish, and more detailed prints, but they come at the cost of longer print times. Conversely, higher layer heights produce faster prints with a rougher surface and lower resolution.
However, layer height does more than just affect print quality and speed – it also plays a crucial role in determining the strength and durability of the 3D printed parts.

To understand the impact of layer height on print strength, let's dive into the factors that contribute to the mechanical properties of 3D printed objects.
2. Factors Contributing to the Mechanical Strength of 3D Printed Parts
The strength of a 3D printed part is influenced by multiple factors, including material type, print orientation, infill density, and, of course, layer height. The layer height's effect on strength is mainly attributed to the bonding between layers, which is critical to the part's overall durability and resistance to mechanical stress. Here are the primary factors to consider when optimizing layer height for strength:
2.1 Layer Bonding
A fundamental aspect of layer height's impact on print strength is the bonding between individual layers. When using the Fused Deposition Modeling (FDM) 3D printing process, layers are deposited one atop another, creating a bond as the new layer's material fuses with the previous one. In general, lower layer heights create a larger contact area between layers, leading to stronger bonding and increased part strength.
2.2 Material Flow and Extrusion
The extrusion process is another critical factor that influences layer height and print strength. Lower layer heights require a slower extrusion rate to ensure even and consistent material flow. Properly calibrated extrusion settings can contribute to the overall strength of 3D printed parts by ensuring adequate material flow and consistent layer bonding.
3. Identifying the Optimal Layer Height for Strong 3D Prints
Now that we've explored the factors that contribute to the mechanical strength of 3D printed parts, let's examine how to determine the optimal layer height for achieving the strongest prints.
To achieve the strongest possible 3D prints, it's crucial to determine the optimal layer height based on your material, printer, and project requirements. This section further explores the factors to consider when identifying the ideal layer height for strong 3D prints.
3.1 Material Considerations
Different materials exhibit distinct properties that can influence the ideal layer height for strength. For instance, while PLA and ABS may have similar layer height recommendations for optimal strength, more flexible materials like TPU might require different settings to achieve the best results. It's essential to consult the manufacturer's guidelines for the specific material you're using and experiment with various layer heights to find the optimal balance between strength and print time.
Different materials not only have distinct mechanical properties but also respond differently to various layer heights. Here are some examples of how specific materials might influence the optimal layer height for strength:
-
PLA: This popular material is known for its ease of printing and relatively high strength. For PLA, a layer height of 50-75% of the nozzle diameter is often a good starting point for achieving strong prints.
-
ABS: Although it can be more challenging to print with than PLA, ABS offers greater strength and durability. As with PLA, a layer height of 50-75% of the nozzle diameter is generally recommended for optimal strength.
-
PETG: This material combines the ease of printing of PLA with the strength and durability of ABS. With PETG, you may need to experiment with different layer heights to find the optimal balance between strength and print time, as it can be more sensitive to temperature and cooling settings.
-
TPU: Flexible materials like TPU present unique challenges when optimizing layer height for strength. Due to their flexibility, they often require smaller layer heights and slower print speeds to ensure proper layer bonding and minimize deformation. You may need to test various layer heights and fine-tune your printer settings to achieve strong, flexible prints.
3.2 Printer Capabilities
Your 3D printer's capabilities will also play a role in determining the optimal layer height for strong prints. Each printer has a specific range of layer heights it can achieve, dictated by factors like nozzle diameter, stepper motor resolution, and mechanical components. It's crucial to understand your printer's limitations and ensure that your desired layer height falls within the machine's capabilities.
Every 3D printer has unique capabilities and limitations that can impact the optimal layer height for strength. Here are some factors to consider when determining the best layer height for your printer:
-
Nozzle Diameter: The nozzle diameter dictates the minimum and maximum layer height you can achieve. As a general rule, the layer height should be between 25% and 75% of the nozzle diameter. For example, with a 0.4mm nozzle, a layer height between 0.1mm and 0.3mm is typically recommended.
-
Stepper Motor Resolution: The resolution of your printer's stepper motors affects the accuracy and precision of layer deposition. If your stepper motors have lower resolution, it may be challenging to achieve consistent layer heights at the lower end of the recommended range. In such cases, you might consider slightly increasing the layer height for improved strength and consistency.
-
Mechanical Components: The quality and precision of your printer's mechanical components (e.g., belts, pulleys, and linear rails) can also influence the optimal layer height.
3.3 Balancing Strength, Resolution, and Print Time
When optimizing layer height for strength, it's essential to strike a balance between mechanical durability, surface finish, and print time. While lower layer heights generally lead to stronger prints, they also increase print time and may not always provide a substantial improvement in strength compared to slightly higher layer heights.
A good starting point is to use a layer height equivalent to 50-75% of your nozzle diameter. For instance, if you have a 0.4mm nozzle, consider using a layer height between 0.2mm and 0.3mm. This range typically provides a good balance between strength, print time, and surface finish for most applications.
However, this guideline isn't universally applicable, and the optimal layer height may vary depending on your specific project, material, and printer. The key is to experiment with various layer heights within your printer's capabilities to find the best combination of strength and print time for your specific needs.
When selecting the optimal layer height for strong prints, it's essential to balance mechanical strength with print resolution and print time. While lower layer heights generally result in stronger prints, they may not always provide a significant improvement in strength compared to slightly higher layer heights. Furthermore, lower layer heights increase print time, which can be a limiting factor for larger projects or when producing multiple parts.
To find the right balance between strength, resolution, and print time, consider the following:
-
Project Requirements: Evaluate the specific requirements of your project, such as the part's mechanical load, surface finish, and dimensional accuracy. This will help you determine the relative importance of strength, resolution, and print time for your specific application.
-
Material Limitations: Keep in mind that certain materials may have limitations regarding the achievable layer heights and strength. Be sure to consult the manufacturer's guidelines and consider the specific material properties when selecting the optimal layer height.
-
Printer Limitations: As discussed in the previous section, your printer's capabilities can impact the layer height range and the achievable strength. Be aware of your printer's limitations and experiment within its capabilities to find the best balance between strength and print time.
3.4 Experimentation and Fine-tuning
Optimizing layer height for strength is not a one-size-fits-all process. What works for one printer, material, or project might not work for another. Therefore, it's essential to experiment with various layer heights and print settings to find the optimal combination for your specific situation. Here are some tips for successful experimentation:
-
Start with a test print: Before committing to a full-scale project, print a small test object (e.g., a calibration cube or a tensile strength test piece) using different layer heights and settings. This will help you identify the best settings for your specific material and printer.
-
Adjust settings incrementally: When testing different layer heights and print settings, make small adjustments to avoid extreme changes that could negatively impact your print quality or strength.
-
Keep track of your results: Document your test prints, settings, and observations to make it easier to compare results and identify patterns. This will help you refine your settings more effectively and achieve the best possible print strength.
-
Be patient: Fine-tuning your print settings for optimal strength can be a time-consuming process. Be prepared to invest some time and effort into experimentation
By carefully considering these factors and testing different layer heights within your printer's capabilities, you'll be able to determine the optimal layer height for achieving strong prints in your specific context. Remember that the ideal layer height may vary depending on your project, material, and printer, and finding the perfect balance may require some experimentation and fine-tuning.
4. Tips for Enhancing the Strength of Your 3D Prints
In addition to selecting the right layer height, there are several other strategies you can employ to improve the mechanical strength of your 3D printed parts:
4.1 Optimize Print Orientation
The orientation of your part on the print bed can significantly impact its strength. Position your part to minimize the stress on layer lines and maximize the strength of the printed object.
4.2 Increase Infill Density
Higher infill densities result in stronger parts, as there's more material within the part to resist mechanical stress. Experiment with different infill patterns and densities to find the best balance between strength and material usage.
4.3 Use a Larger Nozzle Diameter
A larger nozzle diameter can help increase the strength of your prints by extruding more material per layer. This can lead to stronger layer bonds and improve overall durability.
4.4 Optimize Print Temperature and Cooling Settings
Ensure you're printing at the correct temperature for your material to facilitate proper layer bonding. Additionally, optimizing cooling settings can help prevent warping, which can weaken the part.
Achieving the strongest possible 3D prints is a balance of various factors, including material selection, print orientation, and layer height. While lower layer heights generally lead to stronger parts due to increased bonding between layers, it's essential to consider your specific project requirements, material, and printer capabilities when determining the optimal layer height.
By understanding the factors that contribute to the mechanical strength of 3D printed objects, experimenting with various layer heights, and implementing additional strategies to enhance print strength, you'll be well on your way to producing durable, functional parts for your projects. Remember, it's crucial to find the right balance between strength, surface finish, and print time to ensure the best results for your 3D printing endeavors. Happy printing!